What is dermaplaning?
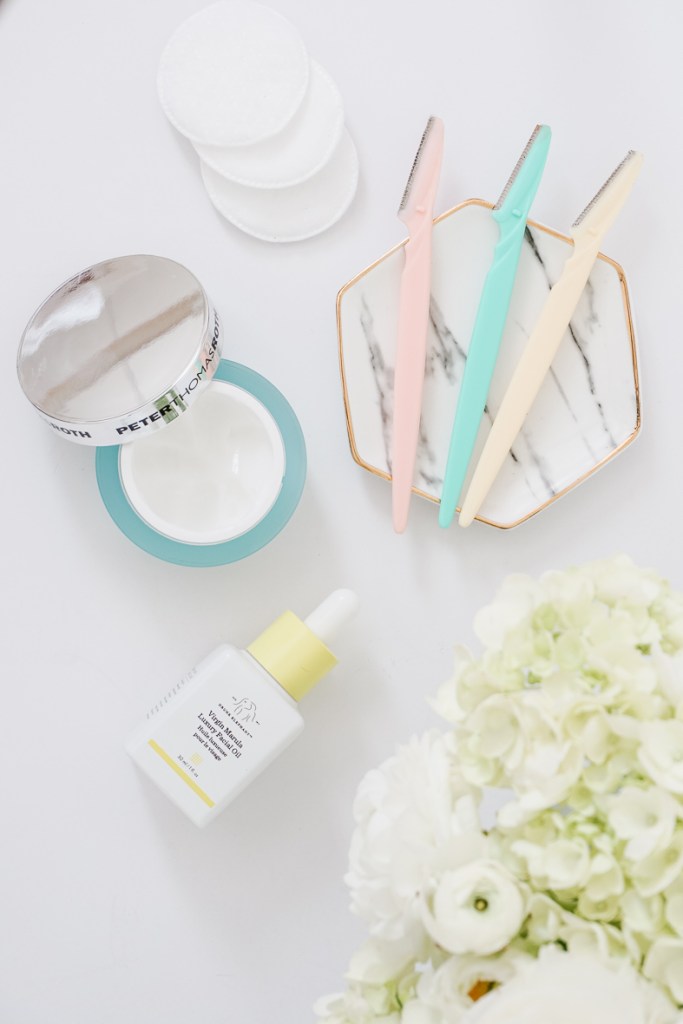
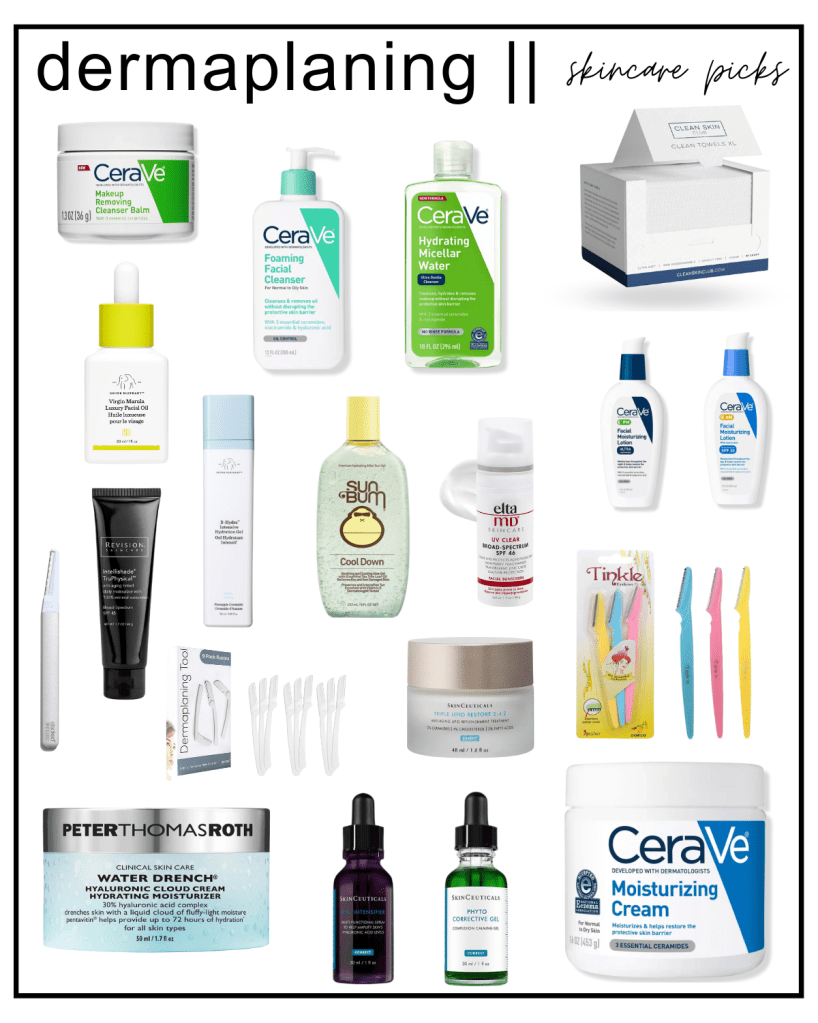
Dermaplaning is a manual exfoliation technique that removes dead skin cells and “peach fuzz”. It is not the same as “shaving your face”. This treatment is often offered in medical spas but can be done in the comfort of your own home with the right tools and aftercare products. All you need is a dermaplaning facial tool and hydrating skin care products for post-treatment use.
Benefits of Dermaplaning:
- Removes skin cells + “peach fuzz”
- Reduces appearance of fine lines
- Improves appearance of acne scarring
- Improves appearance of hyperpigmentation
- Promotes collagen production
- Smoother makeup application
- Triggers skin cell regeneration
- Assists in prevention of breakouts
- Allows skin care products to absorb deeper into the skin
- Good for all skin types
- Removes dull skin
- Immediate results
- Low risk procedure
- Quick procedure
Risks + Side Effects:
There are little-to-no risks with in-spa dermaplaning treatments. However, dermaplaning at home poses potential for greater risks – I recommend researching tutorials like this one to ensure your risks are minimized.
You may have mild redness for a couple days post-treatment and some experience small whiteheads in the days following treatment. This is totally normal.
Who Should Dermaplane?
Dermaplaning is good for all skin types! However, you should avoid dermaplaning if you have any current inflammatory skin conditions such as inflammatory acne//cystic acne, sunburns, eczema, psoriasis, or roseacea.
How Often Should I Dermaplane?
It is recommended to dermaplane once every 4-6 weeks. If you’re doing an at-home treatment, I recommend doing it at night. I have done both in-spa and at-home treatments. It is much more convenient do to it at home so I dermaplane once each month at night time.
How To Dermaplane At Home:
- Always start by cleansing your face and removing all makeup; then, pat skin dry and use a toner or micellar water.
- Put on a light moisturizer or facial oil. This step isn’t required but I like to have some moisture on my face.
- Hold skin taut with one hand and dermaplane in the direction of hair growth. Angle downwards at a 45-degree angle using short, light strokes. Be gentle and take your time!
- Wipe off your face; then, repeat previous steps angling the dermaplaning tool in the opposite direction for maximum exfoliation. This step isn’t required but I like to do it to ensure all dead skin cells are gone!
- Afterwards, cleanse your face with a gentle cleanser and use hydrating facial products such as aloe vera, hyaluronic acid, and moisturizer.
Post-Procedure Tips:
Avoid using drying or exfoliating products for a few days after treatment. If you’re going to be out in the sun, use SPF. Avoid picking or scratching your face. Use a gentle cleanser and other gentle skin care products – you can never go wrong with CeraVe. Lastly, hydrate, hydrate, hydrate!!!
Looking for more information? Check out these articles:
Whether in spa or at home, have you had a dermaplaning treatment before? What are your thoughts? Share below!


When I did it for the first time I don’t know much about it and the precautions one should take.I just thought it’s just shaving so let’s do it.After that I’ve got so many pimples.But once I understand the procedure it’s become my favorite and so satisfying thing.It makes your skin glowing instantly.