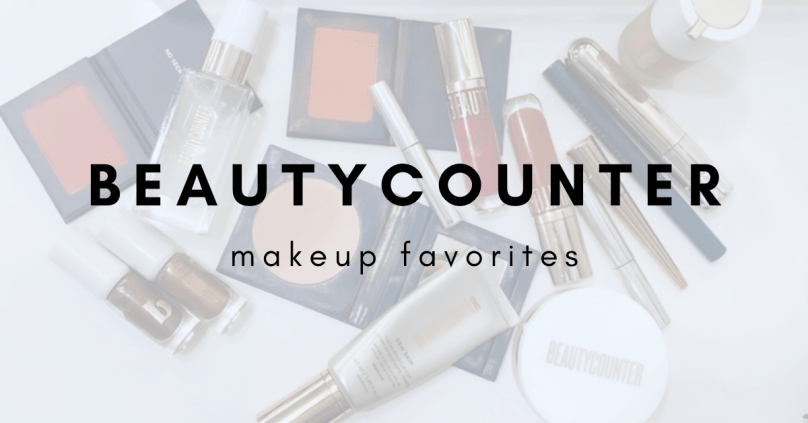
There are a few Beautycounter makeup products I use daily and several that I use frequently depending on what I’m doing that day or what look I’m going for. I’ve listed all my favorites, including links, here!
Dew Skin Tinted Moisturizer – I frequently use this as my moisturizer before putting on foundation or I just wear it as my foundation + sunscreen when heading out to the pool!
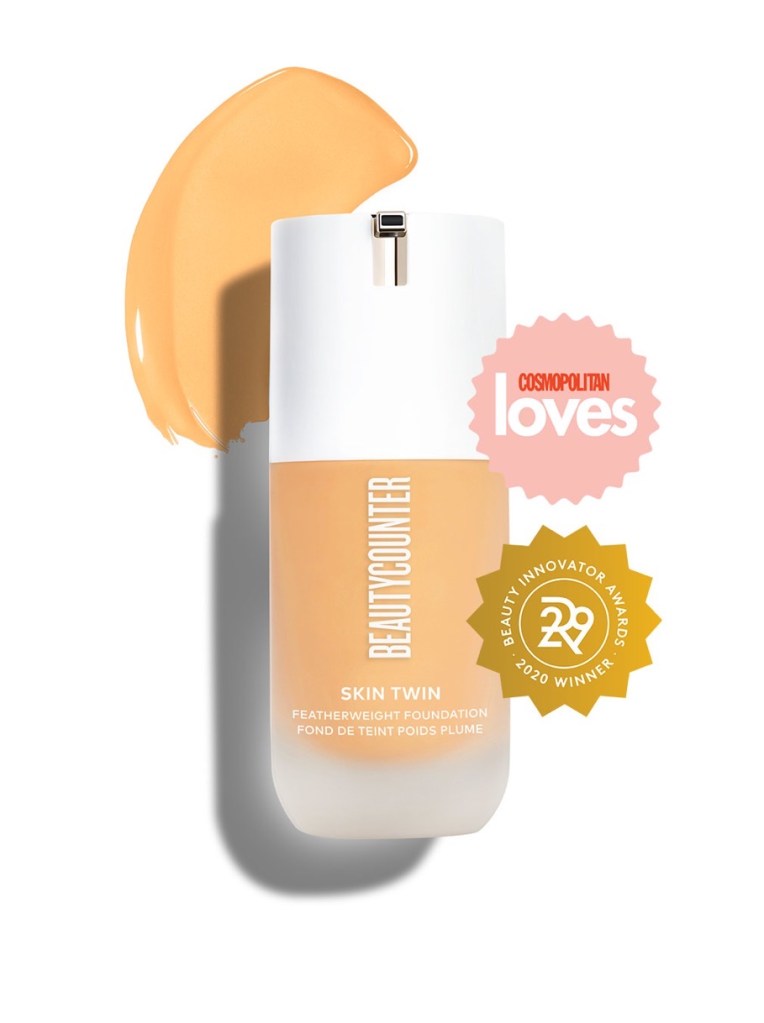
Skin Twin Featherweight Foundation – This is the foundation I reach for most on work days! It doesn’t even feel like I’m wearing foundation + doesn’t clog my pores!
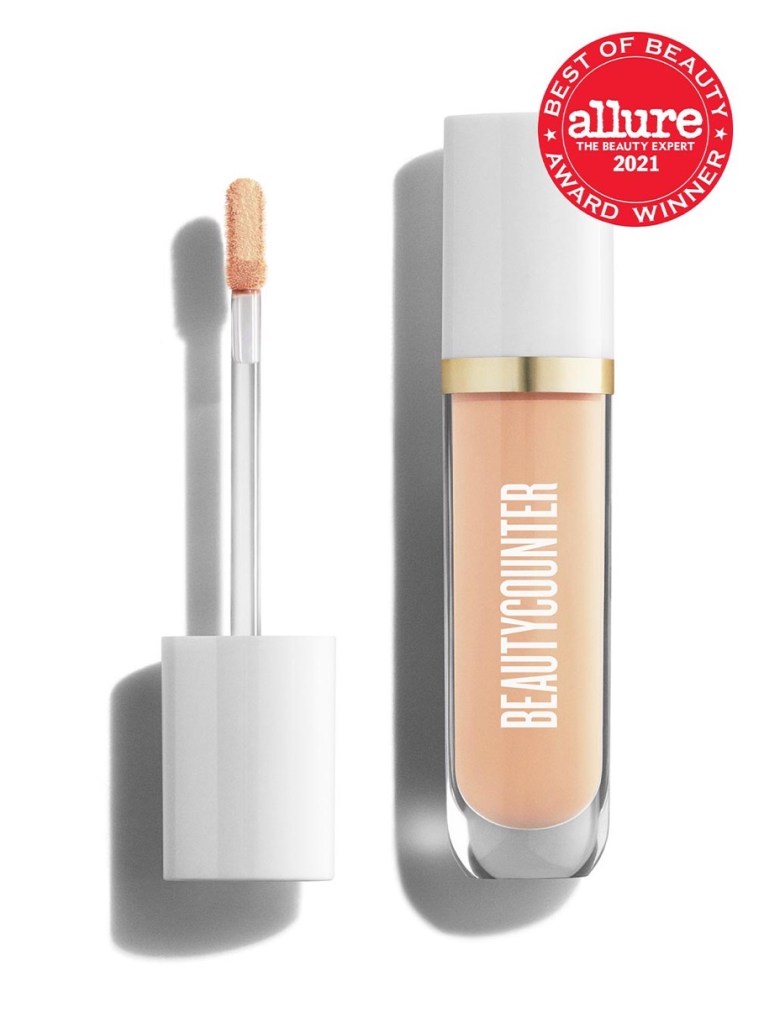
Skin Twin Creamy Concealer – This concealer is just as wonderful as the foundation! I always use them together!
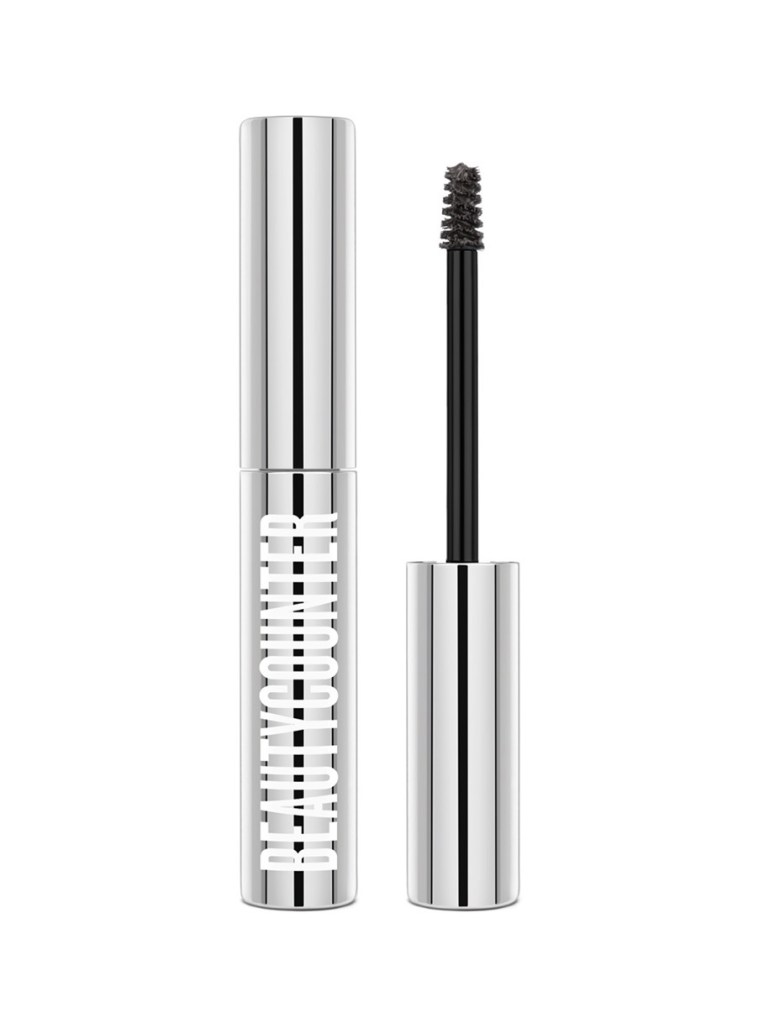
Brilliant Brow Gel – Another favorite for work days! I use shade invisible + it keeps my brows in place all day!
Beyond Gloss – Love this gloss! The applicator allows you to apply with precision + it gives just enough color! My favorite shades are Clove + Delilah!
To make things simple, I included a sharable preview cart with all of my makeup favorites here!
If you’re interested in trying Beautycounter products or have any questions, feel free to comment below!
I’m a Speech-Language Pathologist + work primarily with younger children in the private practice setting. For speech and language therapy, especially articulation therapy, we often use games as a cooperative strategy to keep children engaged and motivated. As you can probably imagine, it’s easy for things to get strewn about and cluttered. Our materials room + office shelves can become a disaster very quickly. We typically see clients back-to-back and we rarely have time to put things back neatly. I wanted to come up with a way to organize our shelves where they were not only pretty, but also functional. I’m obsessed with The Home Edit and recently watched an episode from their Netflix show where they organized a classroom + a playroom. They implemented their signature rainbow color scheme which is perfect for any kids space! So naturally, I decided to organize games and books using their ROYGBIV method. It’s aesthetically pleasing and much easier to keep things organized using this method. Not to mention, it’s just as easy for kids to know where things go + put them back in the appropriate space!
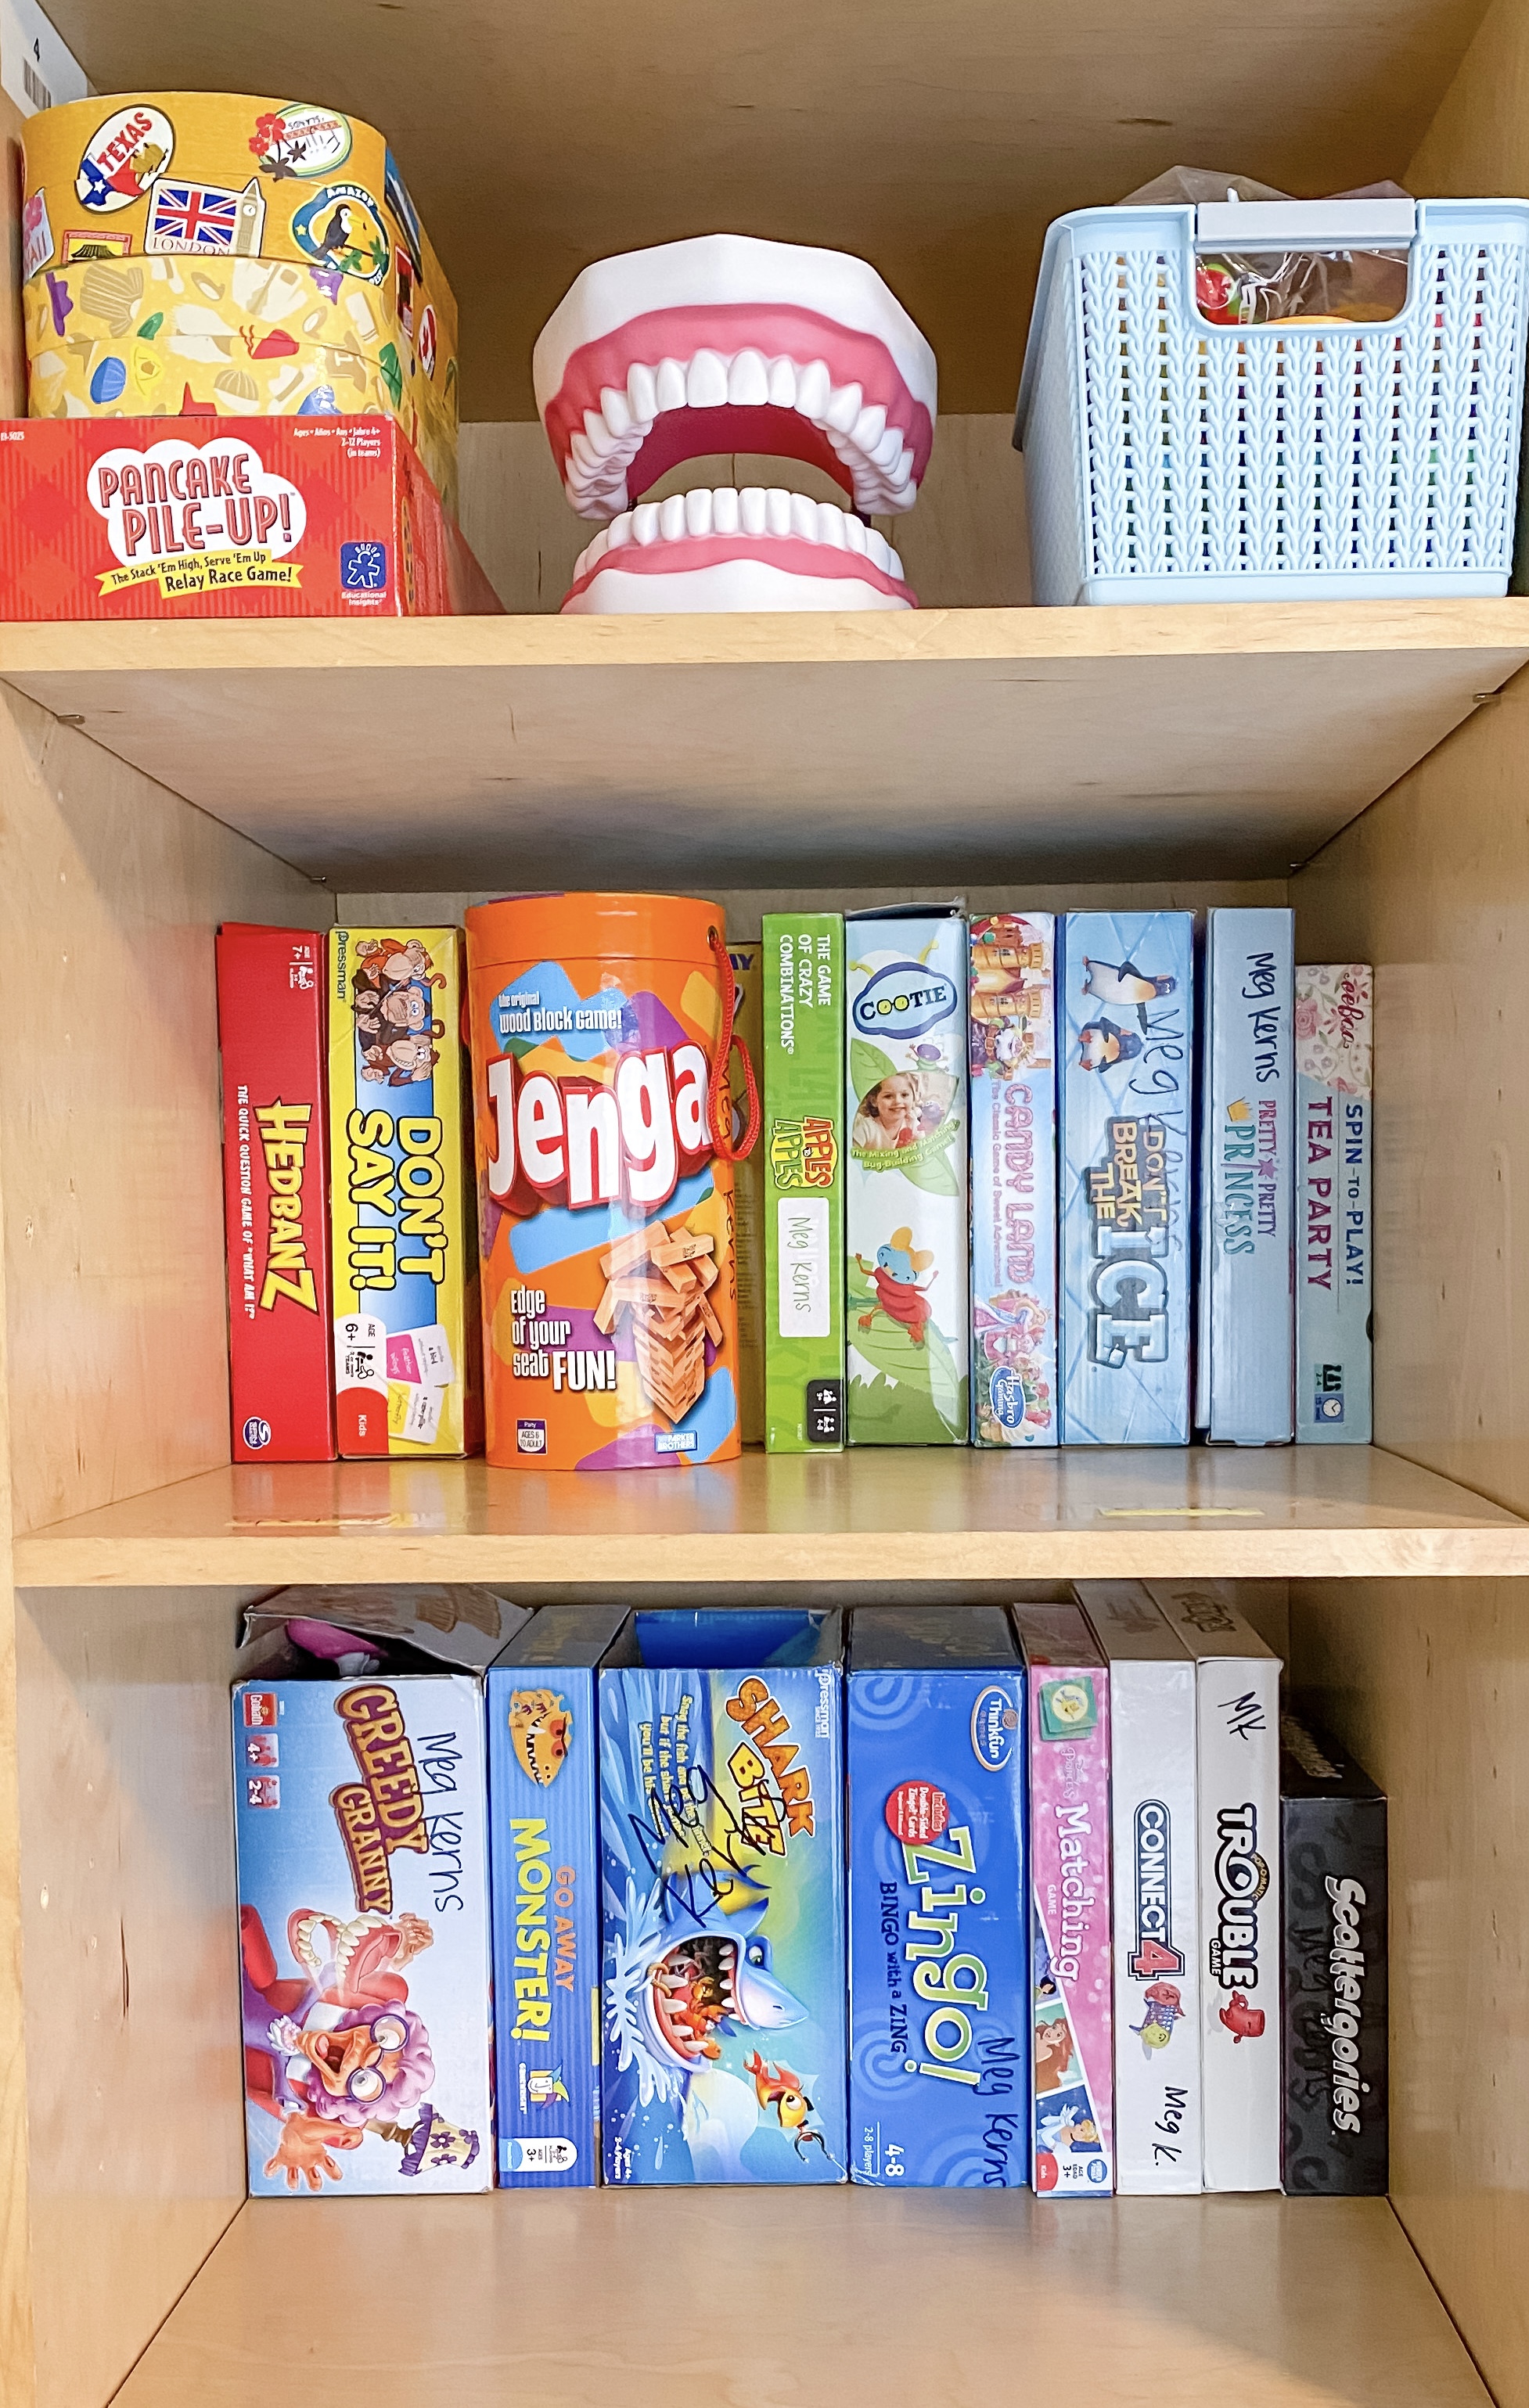
One day, I had a couple of clients out for vacation so I used that extra time to organize the game shelves in our materials room. It took only 45 minutes to an hour to complete the project. I regret not taking a before picture but I’ll give you an idea: we had games stacked horizontally and there were a few straggling pieces that didn’t make it into their boxes laying around on the shelves. We have tons of games and many were stacked in front of each other so we couldn’t really see all of the games we had. I decided to organize them vertically, as you would typically organize books. I taped the boxes that were falling apart back together to ensure pieces wouldn’t escape their proper space. Now, we can see most all of our games at a quick glance and they are much more accessible than before! Check out our office materials room below – pictured left!
For my personal office shelves + personal materials, pictured right, I implemented the same method. I don’t have near the number of games so this mini-project took about 10-15 minutes to complete. I was able to do this on my lunch break one day + still had plenty of time to eat.
As I mentioned, sometimes things get hectic and pieces are easy to lose. There is nothing worse than losing pieces to your client’s favorite game, so I keep all game pieces + parts in ziplock bags and I keep playing cards together using a rubber band. One thing I’ve noticed I haven’t really had to do is tell my clients to put the pieces back into the ziplock bags during clean up. More often than not, the kids will put things back as they were prior to using them. Shocking, I know!
So not only is this useful for organizing, but it’s a great way to teach kids organizing strategies + responsiblity, whether that be through modeling or as a speech therapy room rule.
As a side note, all of my clients LOVE the Greedy Granny game! I’ve had it for about 6 months and they continue to choose that game over most others, even from the giant selection in our materials room! If you’re in search of fun kids games, I highly recommend Greedy Granny!
For links to some of my favorite materials,check out my Amazon Storefront here!
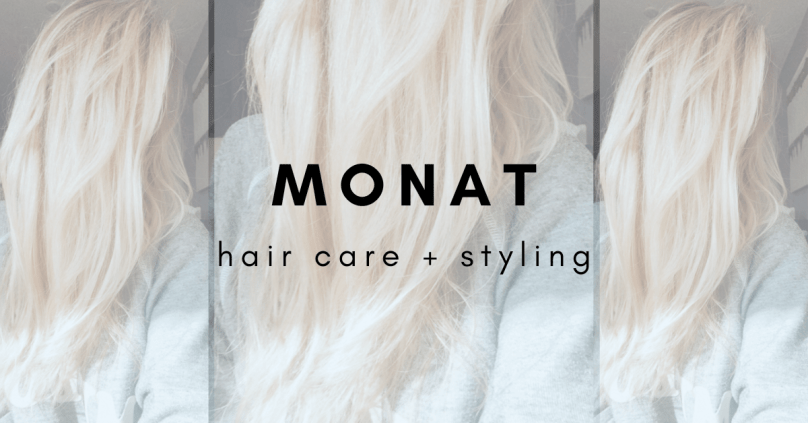
There are 16 Monat hair care + styling products I use regularly. I don’t use them all at the same time – I choose depending on what look I’m going for. I’ve listed them all here!
Products I use daily:
Renew Shampoo
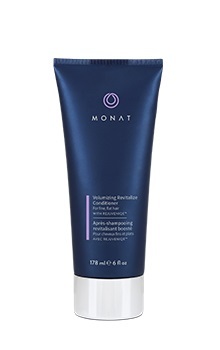
Volumizing Revitalize Conditioner
Junior Gentle Detangler
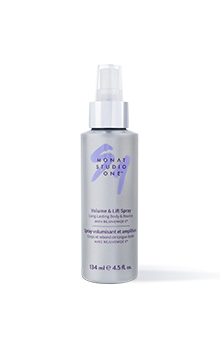
Volume + Lift Spray
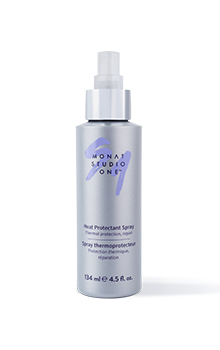
Heat Protectant Spray
Products I use weekly:
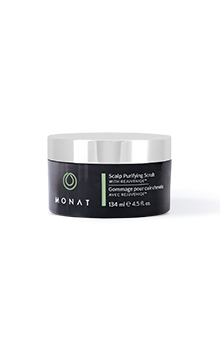
Scalp Purifying Scrub – I use this weekly to remove any product build up from the week!
Black 2-in-1 Shampoo+ Conditioner – I use this weekly to clarify my hair + scalp!
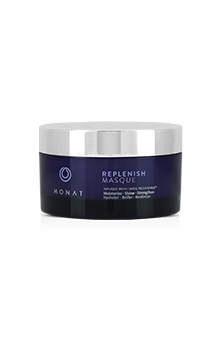
Replenish Masque – I use this weekly as a treatment to ensure my strands stay hydrated!
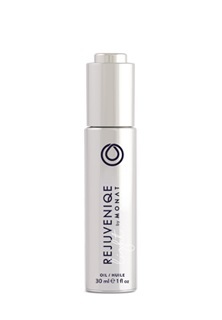
Rejuveniqe Oil Light – I use this as a weekly treatment the night before using the scalp scrub. This keeps my hair looking shiny + healthy!
Products I use depending on hair style:
Blow Out Cream – If I want to go with a straight + sleek look, I use this after detangling!
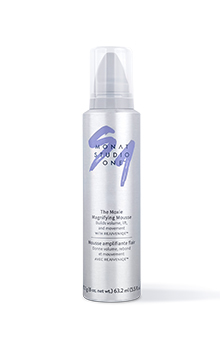
The Moxie Magnifying Mousse – If I want volume + curls, I use this after detangling!
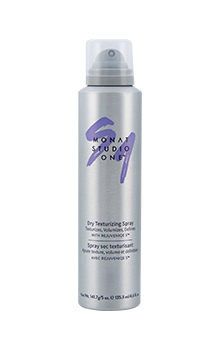
Dry Texturizing Spray – If I want an un-styled look, I use this after drying + styling!
Rejuveniqe Oil Light – For a sleeker look + to keep hair hydrated, I use the oil on the ends after styling!
Products I use as-needed:
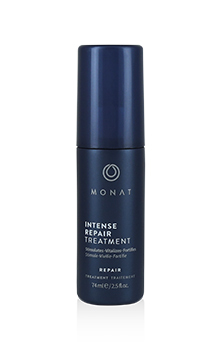
Intense Repair Treatment Spray – I use this as-needed + directly on areas I want to grow such as around my hairline!
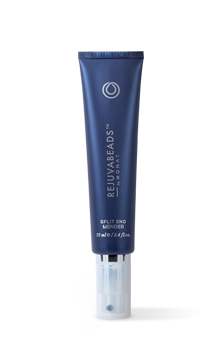
Rejuvabeads aka Split End Mender – When I haven’t been to the salon in awhile, I use this on the ends of my hair to seal any split ends! This product is truly amazing!
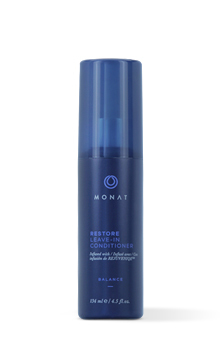
Restore Leave-In Conditioner – When I need a little extra hydration on 2nd + 3rd days without washing, I use this on my ends and bottom half of hair!
Rejuveniqe Oil Light – I use this as-needed for added hydration or when I’m going for a sleek style!
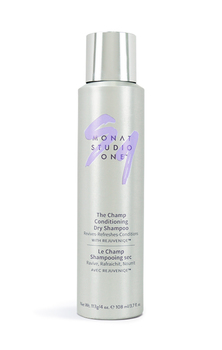
The Champ Conditioning Dry Shampoo – I use this every day I don’t wash my hair! The Champ is truly incredible + one of the best dry shampoos I have ever used!
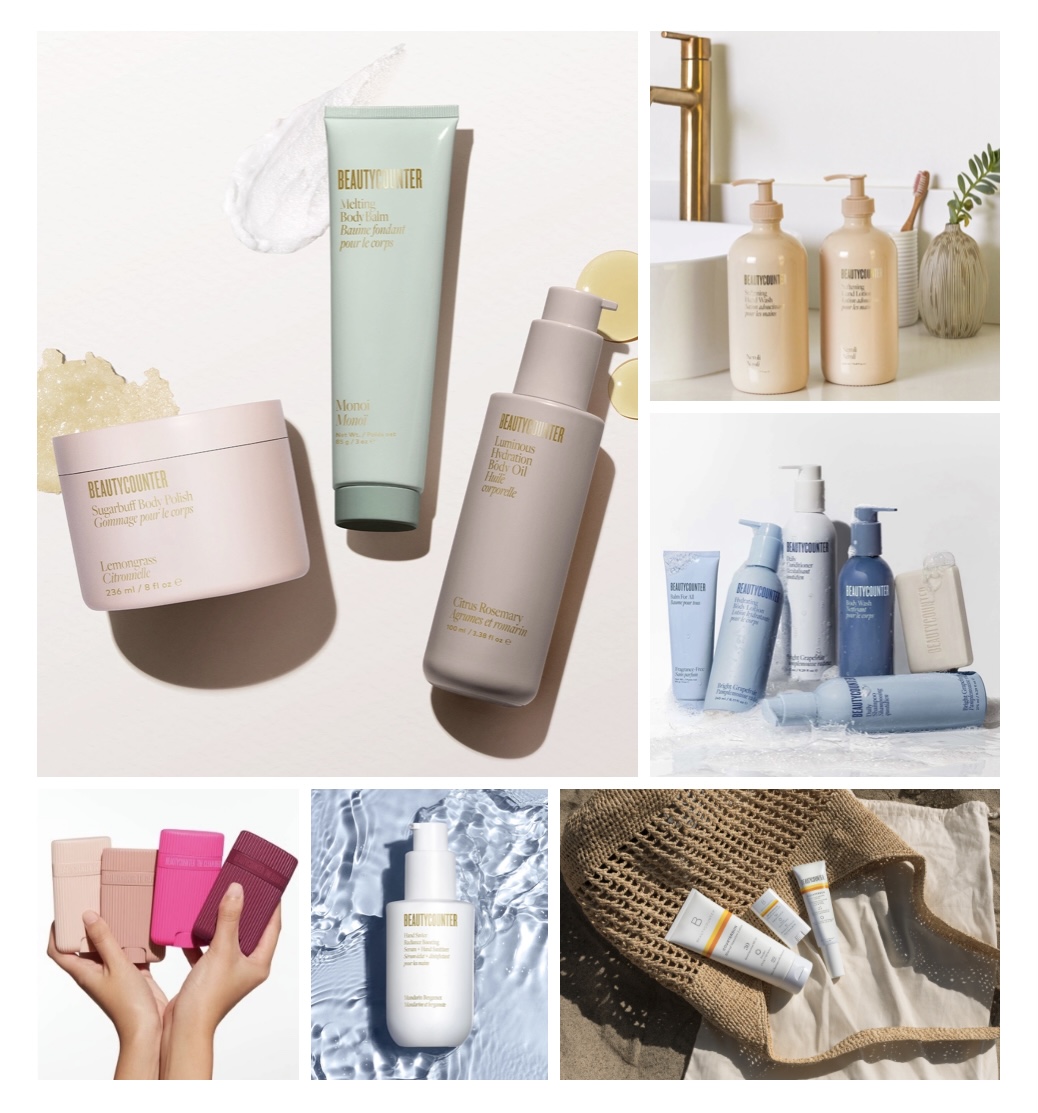
Melting Body Balm– I use this weekly post-bath + focus on drier areas such as elbows and knees!
The Clean Deo– I use deodorant everyday, I promise!!! I use this one on days I’m not working out – I sweat a lot during intense workouts and need an antiperspirant on those days!
Countersun Mineral Sunscreen Stick – I keep this in my pool bag + use for reapplication on my face + around my hairline/scalp! I also use it as a lip sunscreen!
To make things simple, I also included a link to a sharable preview cart including all of my bath + body favorites here.
If you’re interested in trying or have questions, feel free to comment below!
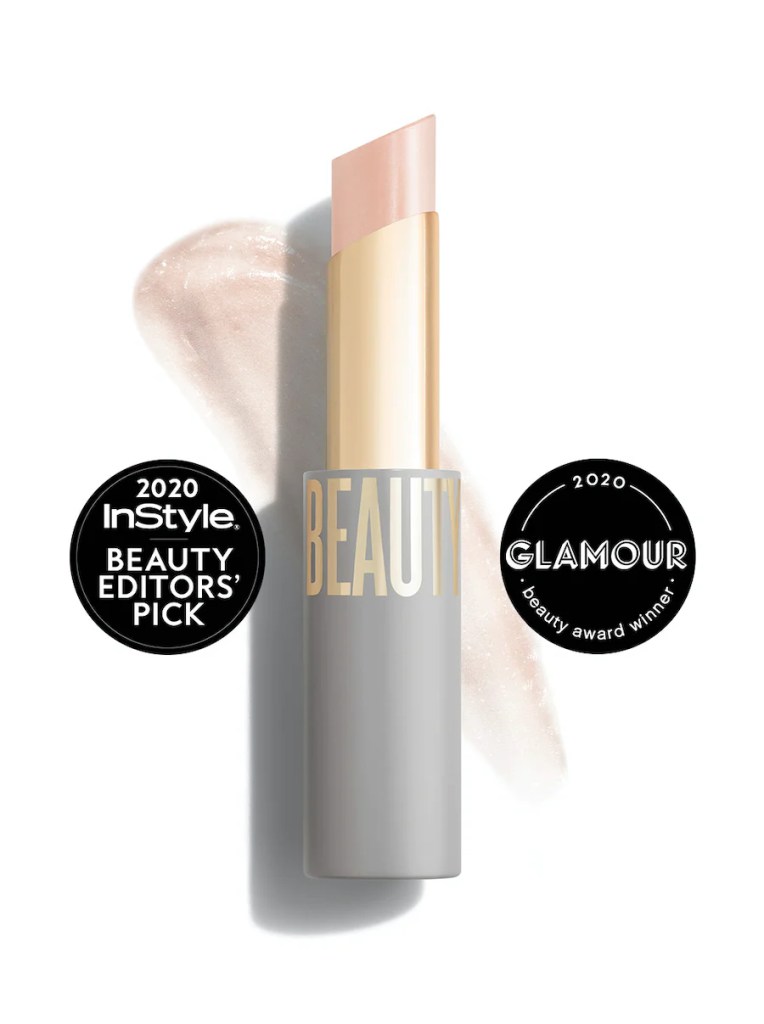
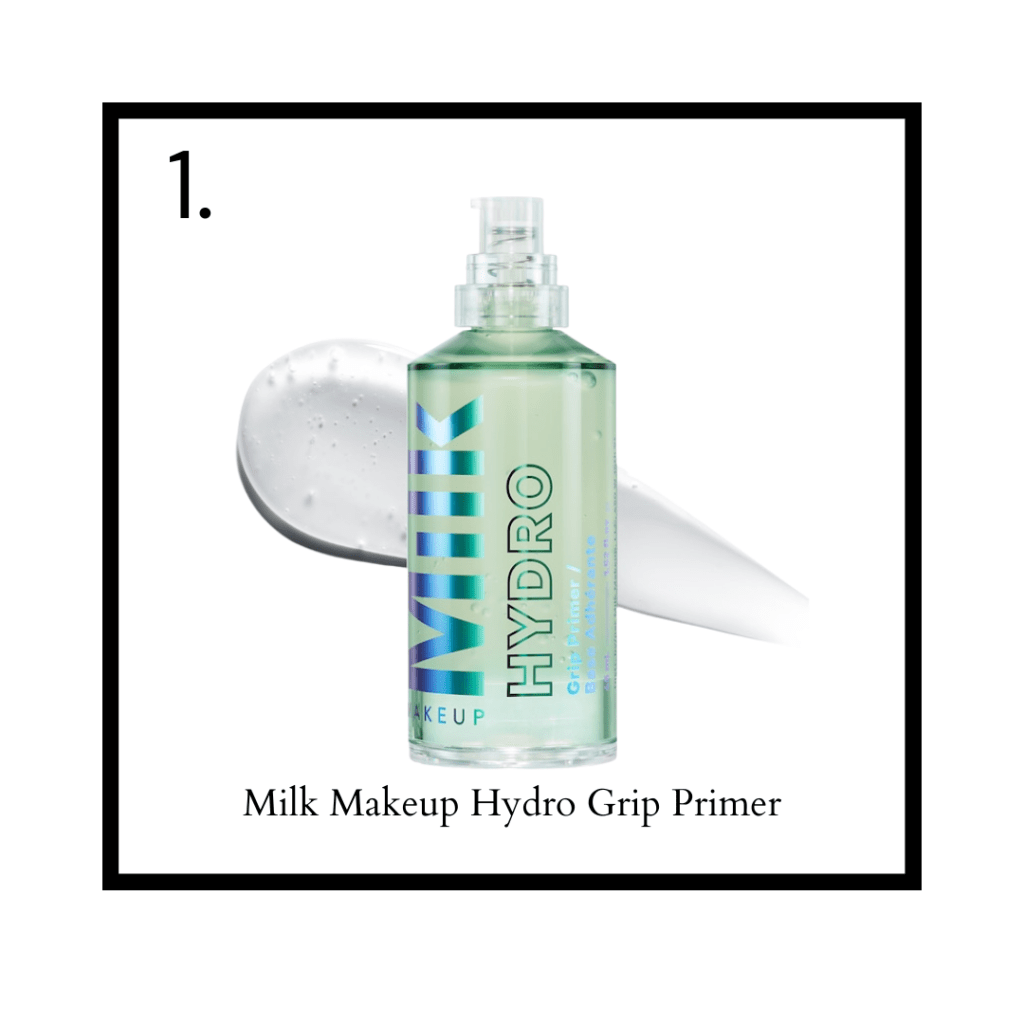
“An award-winning invisible makeup primer with a 94% natural gel formula that
smooths skin, grips makeup up to 12 hours, and locks in hydration.”
– Sephora
WHY I’M OBSESSED:
The description on Sephora is 1000% accurate!
I’ve tried literally a million primers but I think I’ve found THE ONE!!!
It’s cooling to the skin and keeps my makeup looking smoother than ever for a look that lasts all day!
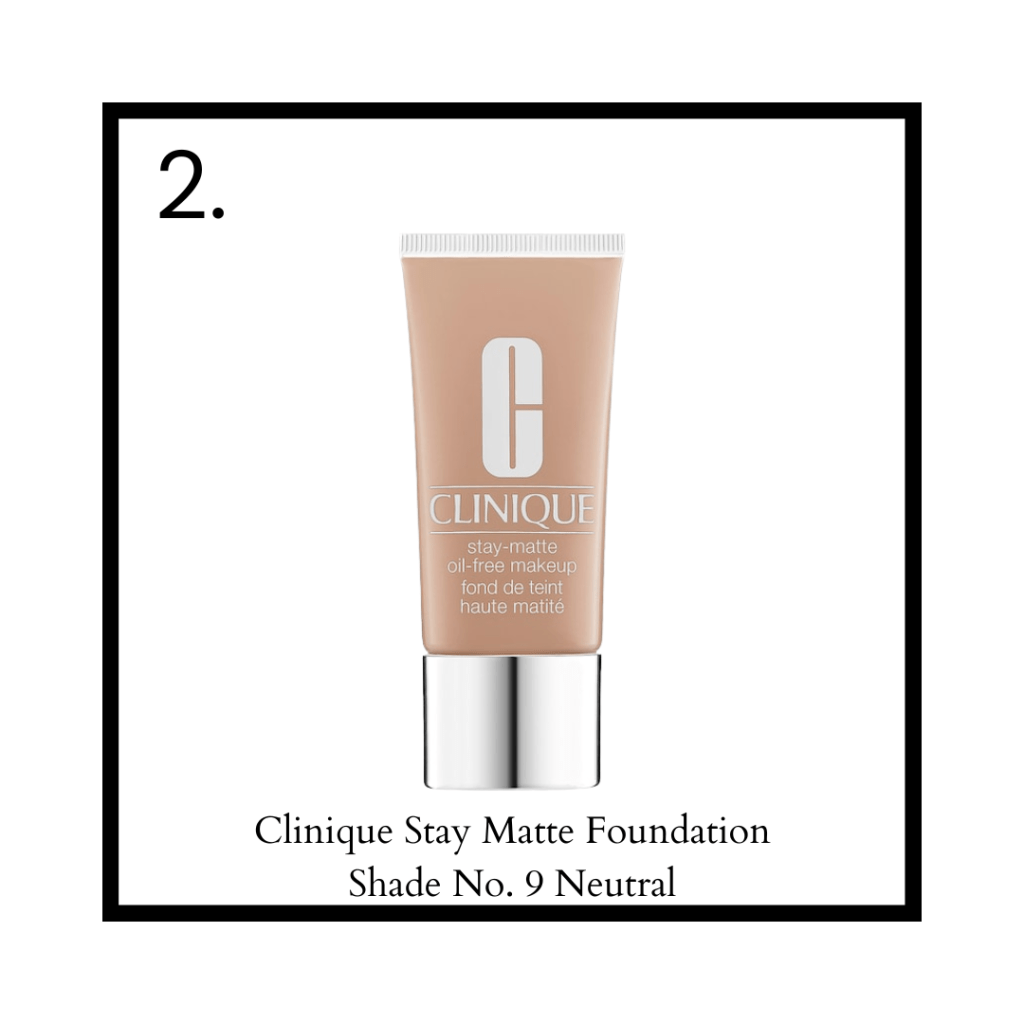
Clinique Stay Matte Foundation
“An oil-free makeup that helps you stay matte all day.”
– Sephora
WHY I’M OBSESSED:
I’ve used this foundation off and on for years and it’s truly one of the best out there, especially for those with oily skin!!!
It absorbs shine, controls oil, and even resists sweat.
It gives the perfect amount of coverage without looking unnatural.
Additionally, it is non-acnegenic!
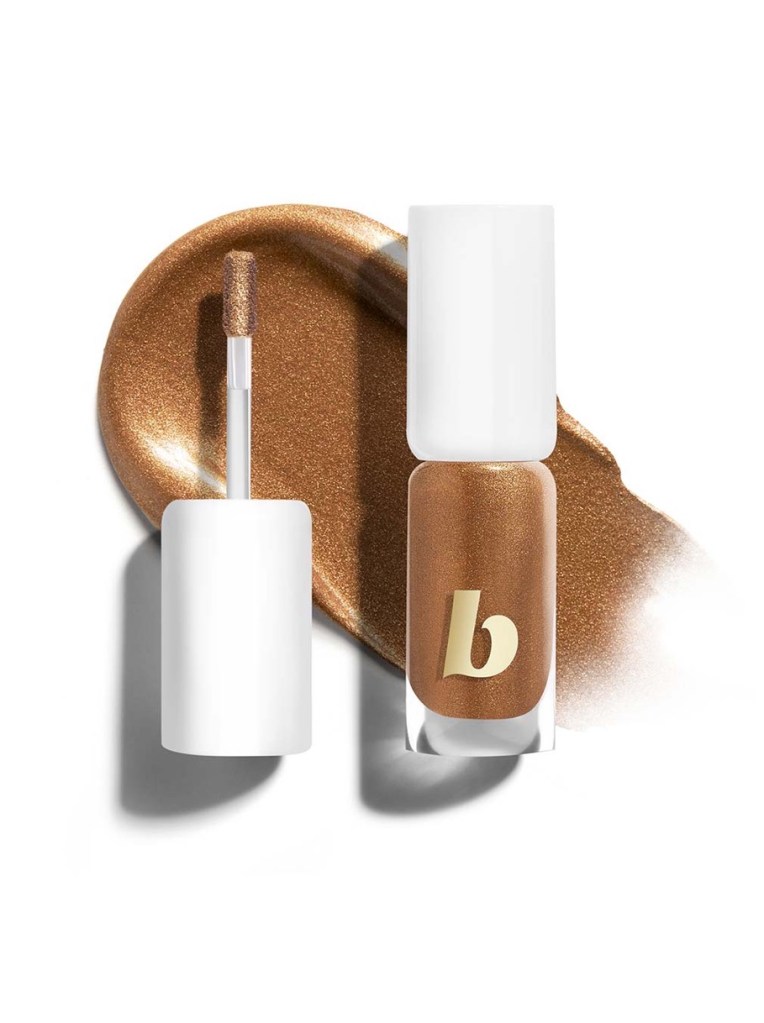
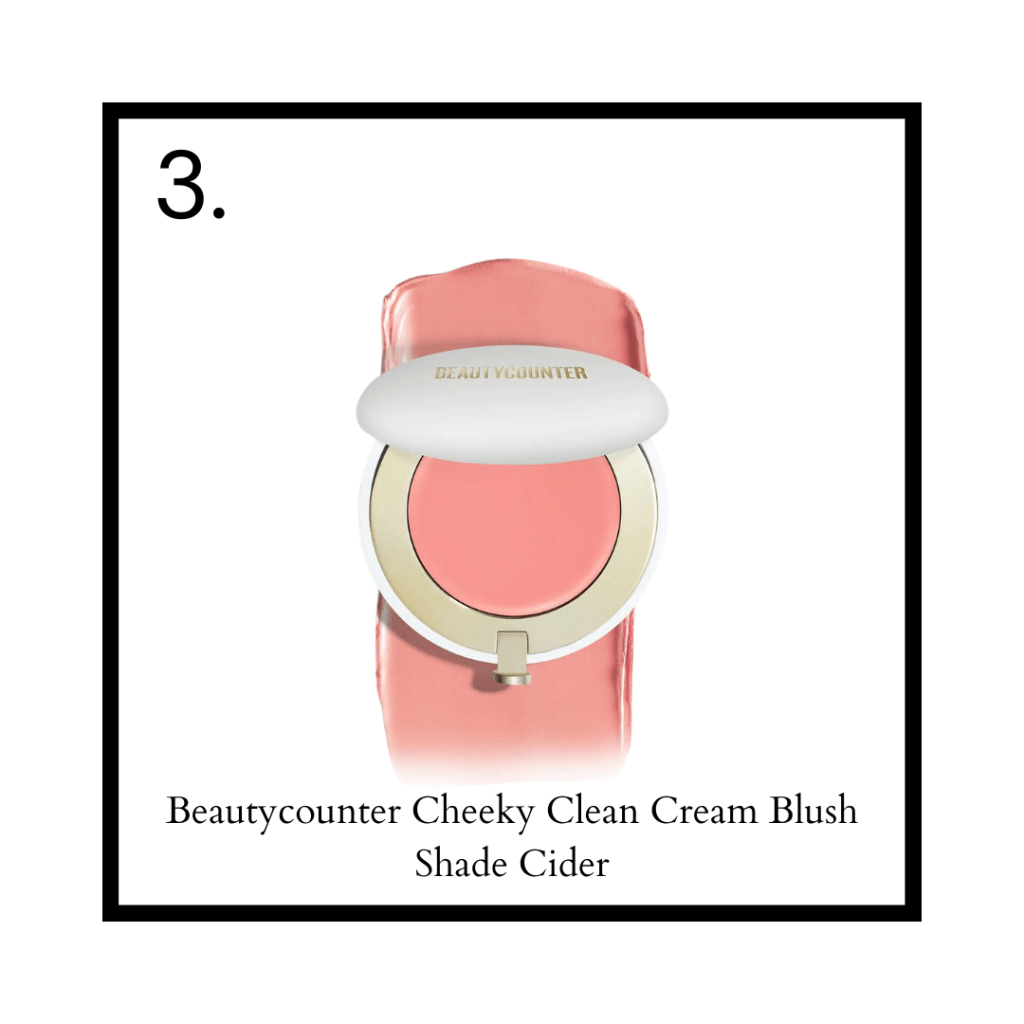
Beautycounter Cheeky Clean Cream Blush in Cider
“Versatile, multitasking, and mistake-proof, this silky cream color for cheeks (and lips) gives you confidence to face the day. Go with a sheer flush or build to a bold pop of color, thanks to lush pigments and skin-loving ingredients like squalane that give you a dewy, smooth finish. Even better? The chic compact is refillable—and made from PCR plastic. Go ahead, get cheeky.”
– Beautycounter
WHY I’M OBSESSED:
I never thought I’d love a cream product so much. I’ve always been a liquid foundation + powder everything else girl.
This blush goes on flawlessly without effecting my foundation. You can go bold or blend out the color for a more natural look.
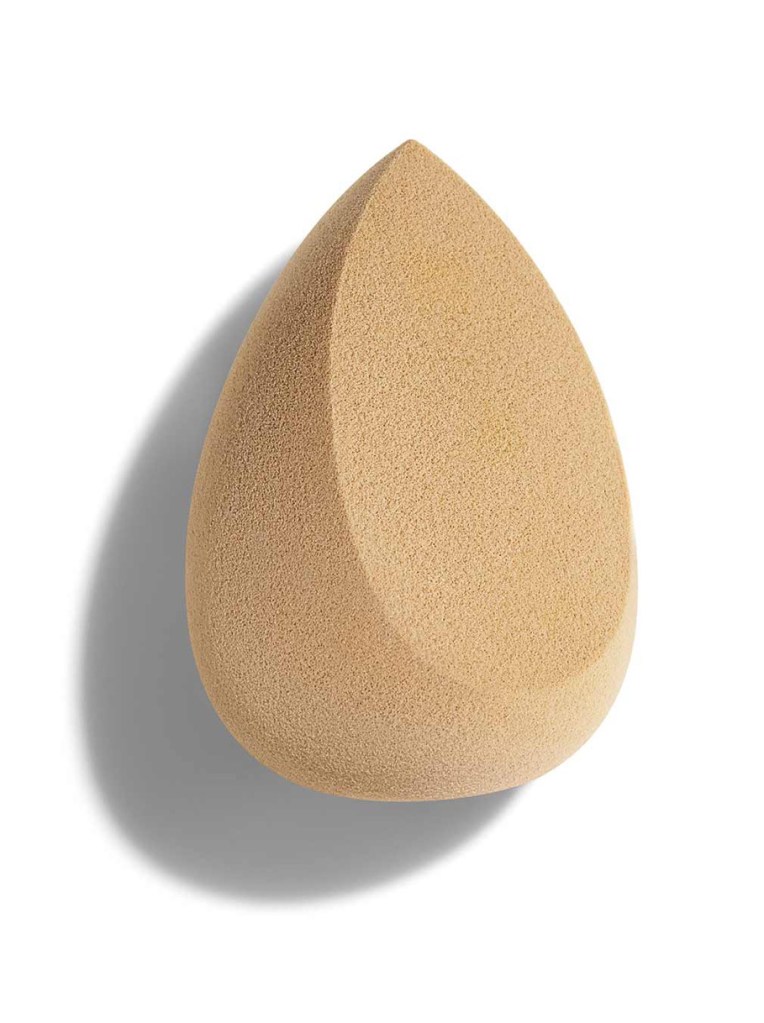
I use the rounded end of a beauty blender to apply, then use the side to blend.
Oh + it comes in 8 beautiful shades!
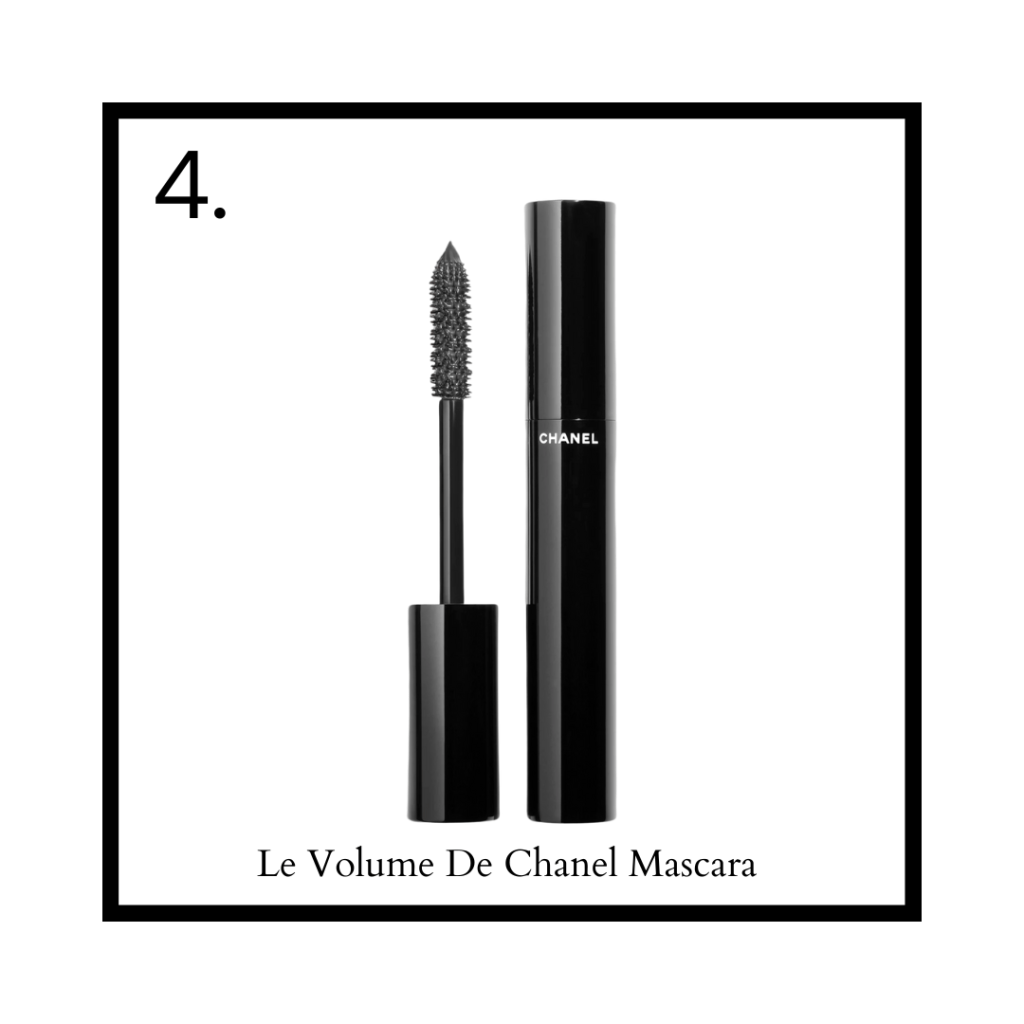
Le Volume De Chanel Mascara
“This innovative high-precision mascara achieves instant volume and intense colour in a single stroke for longer, thicker-looking lashes.”
– Chanel
WHY I’M OBSESSED:
This is truly the absolute best mascara I’ve ever used!!!
It doesn’t clump, goes on smoothly, gives you the perfect amount of volume + length,
and will not flake off on to your face throughout the day.
Yes, it’s definitely pricy. But out of all the mascaras I’ve tried (and I’ve tried A LOT), this one is my absolute favorite!!!
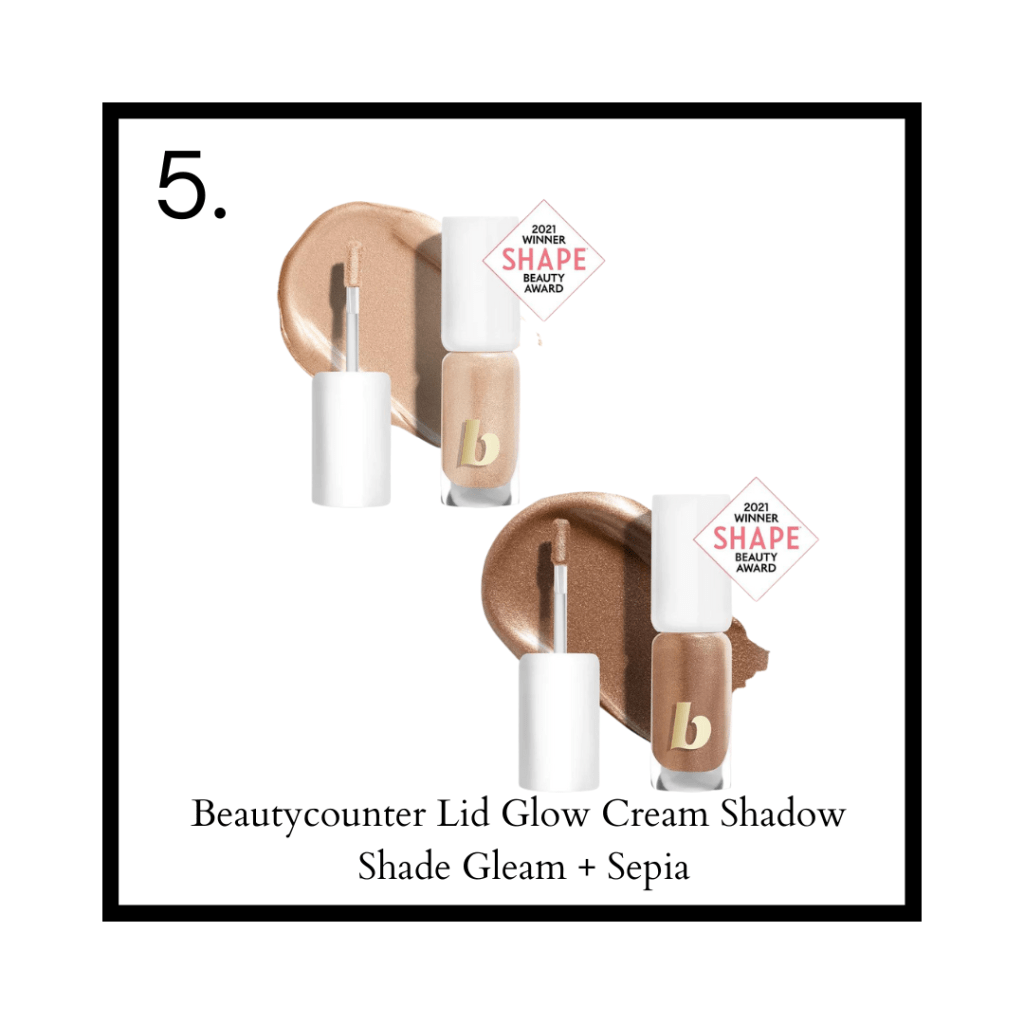
Lid Glow Cream Shadow in Gleam + Sepia
“Light lids up in a blink with this cream shadow that effortlessly delivers glowy, buildable color. The instantly illuminating shades are made to glow how you want to—easily going from a sheer wash of color to a seriously smokey look—in hues that complement a variety of skin tones. Bonus: The weightless, crease-free formula is infused with safer, soothing ingredients designed to care for eyelids.”
– Beautycounter
WHY I’M OBSESSED:
Never thought I would try a cream eye shadow, but here we are!
It took a little trial-and-error period to get used to the application but now that I’m used to it, I’m obsessed!!!
I use either my finger or a mini beauty blender to apply.
It takes just a couple of seconds to put on so it’s great for gals on-the-go!
Up until this year, I had totally forgotten about Target’s clothing. I usually shop online for clothes because, well, convenience. My go-to site is Revolve. They have so many options from weekend wear to work wear and everything in-between. I bought many items specifically for work; however, I began noticing I wasn’t wearing most of what I was buying because I was concerned I would ruin them while working – I work with kids all day so nicer clothing + delicate fabrics just aren’t the move. Not to mention, almost every time I have complimented someone on their outfit lately, they have responded, “Oh, I got this at Target!”. So naturally, I looked online and found TONS of cute clothing, especially for work! I put together all of my favorite summer finds! Click here for product details + links!
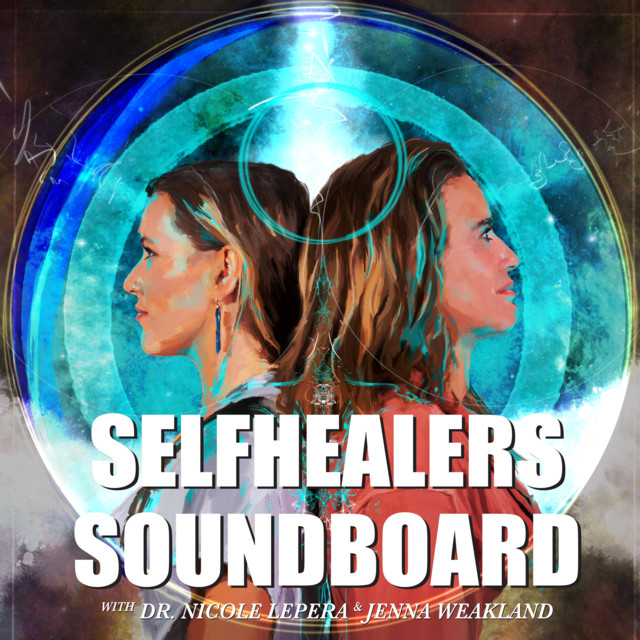
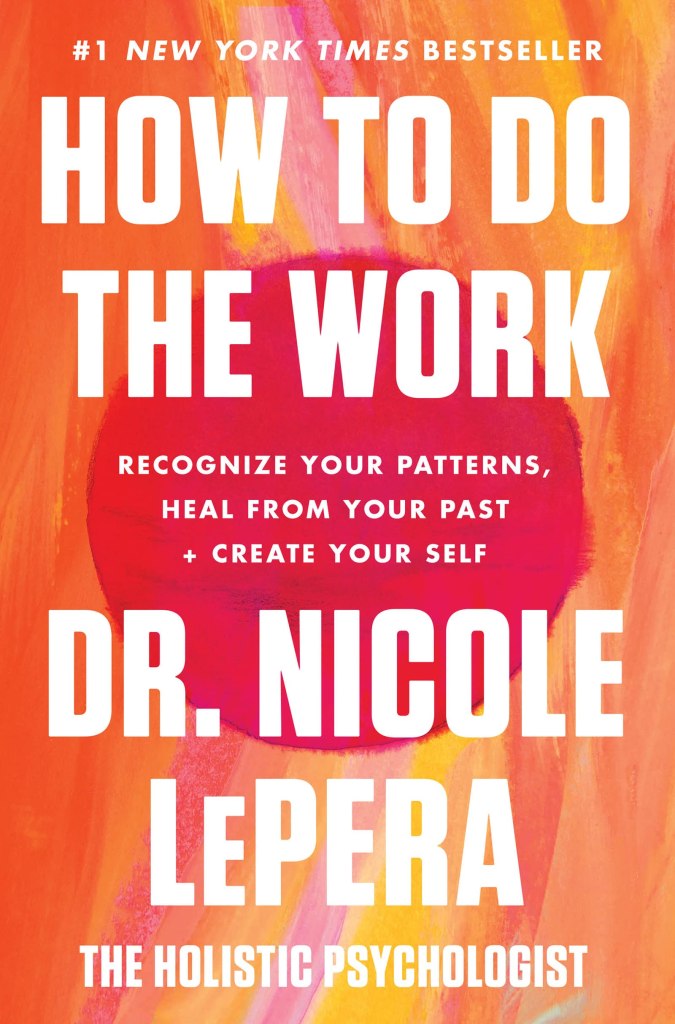
Currently, I’ve been listening to the SelfHealers SoundBoard podcast. Dr. Nicole LePera dives into her book How To Do The Work, released in March 2021. I just completed this podcast series and wow, just WOW!!!It was incredibly insightful and really helped me identify and understand my core triggers – wayyy back from childhood. I’m really looking forward to listening to her other podcast episodes unrelated to the book series.
Dr. LePera takes a holistic approach versus traditional psychotherapy. Her method unites mental, physical, and spiritual wellness to create an interdisciplinary approach to healing. Personally, I have found her work more helpful to my personal experiences than others. Not to say other readings + podcasts haven’t been helpful, but her approach has definitely been the most useful overall for me.
I had her book on my Amazon wishlist for awhile and finally bought it. I haven’t began reading yet but will keep you all updated once I get started. Her new book, How To Meet Yourself, will be released December 6th.
Links to her podcast, book, website, + instagram are linked below!
I have put together a list of my must reads for anyone interested in improving their mental health. I will continue adding to this list so make sure to check back all along!
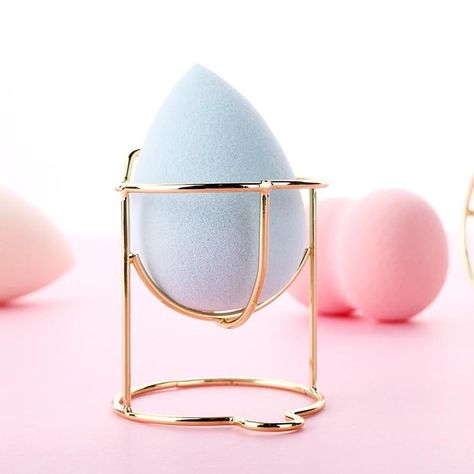
How to use a beauty blender the Right way + how to clean them!
Beauty blenders, or makeup sponges, are my favorite way to apply foundation. For the longest time, I only used makeup brushes. I thought the concept of a “sponge” to apply makeup was a little absurd – they’re more likely to harbor bacteria, absorb makeup into the sponge, and can cause your makeup look cakey. All very valid concerns. During quarantine, I watched many makeup tutorials and learned the same exact concerns apply to brushes as well. It all comes down to technique
So, what’s the proper technique?
Prep your skin. It’s best to use a hydrating serum, moisturizer, SPF, and a makeup primer. If your skin isn’t properly hydrated, the makeup will clump around dry areas and fine lines.
Dampen your blender. It shouldn’t be wet and water shouldn’t come out when the blender is squeezed. When the blender is damp, it won’t absorb your makeup because there is no room for it to absorb anything else.
Pro Tip: For fuller coverage, use it dry to build the product.
Apply product. Use your finger to dab foundation on your face. I usually put foundation on the back of my left hand and use my right index finger to dab product around my face. I start with a small amount to avoid using too much product.
Bounce + blend. I take the blender and begin to gently bounce the blender all over my face to blend and smooth, starting from the center of my face and moving outward toward my jawline and hairline. If needed, I build coverage using the same method focusing on blemishes and discolorations.
Fine tune with the pointed end of the blender. Once my foundation is applied, I put concealer on the back of my left hand and will use the pointed end of the blender to apply concealer under my eyes using the same bounce + blend method.
Mistakes to avoid:
Dragging the sponge across your face.All this does is move product around your face leaving a very unnatural look.
Getting the sponge too wet. If the sponge is too wet, product will stick to the sponge and not your face.
Not cleaning it properly. If you don’t clean your blender at least weekly, this will be a recipe for acne disaster. Makeup also goes on best with a clean sponge.
Not replacing your blender after 3-6 months. Over time, your blender will wear down and will need to be replaced just like a toothbrush.
How to clean your beauty blender or makeup sponge:
Wet the sponge thoroughly. It should double in size!
Apply soap or brush//blender cleaner to the blender. I use Dawn dishwashing soap because I have found it deep cleans the sponge better than other cleaners I have tried.
Rub the blender between your hands to get all the product out of the blender.
Rinse + squeeze the blender until it rings out clear water only.
Blot the blender into a clean towel to remove excess water.
Let your blender air dry. If you put it in a closed space, it will grow mildew – yuck!
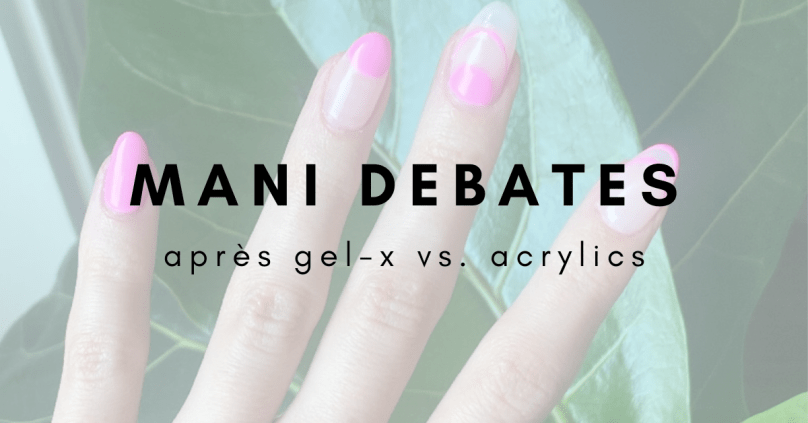
I tried Apres Gel-X Nail Extensions – here are my thoughts!
I’ve always been a lover of acrylic nails. I got my first set in the 7th grade and was immediately obsessed. I continued to get them for special occasions (and sometimes just for fun) throughout high school and college. However, I quit getting them due to upkeep not fitting into my schedule and health concerns that come with using acrylic nails. Check out articles regarding the health concernshere and here.
For the past three years, I simply painted my own nails. During that time, I considered buying press-on nails from various brands I saw on Instagram ads. I chose not to because I was concerned about damaging my nails. So…I continued painting them. It became somewhat annoying because the polish would chip within two days and not to mention, I have a bad habit of picking the polish off once they begin to chip. Not ideal.
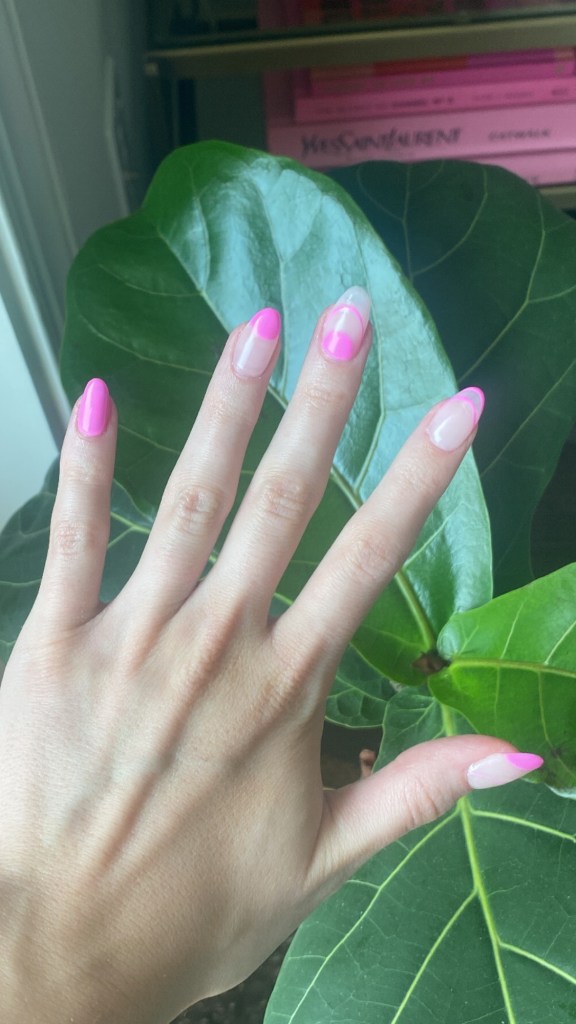
A month ago, I finally decided to make an appointment at this adorable nail salon. When choosing my services from their online booking system, I noticed the Apres Gel-X option. I had limited knowledge about them but I thought I’d give them a try.
After having my first set for a month, I can honestly say I will NEVER get acrylics again. As I’ve learned more and more about cleaner and safer beauty care & products, I feel totally comfortable using these gel nail extensions. I won’t be keeping them on all the time, as there is some upkeep and become expensive to maintain overtime. I’ve also learned it is best to allow your natural nails time to breathe in between sets to maintain natural nail health. But every now and again, I will definitely be treating myself!
Some Education
What is Apres Gel-X?
Apres Gel-X is a soft gel nail extension system (think salon quality press-ons) which are attached to the entire natural nail bed using Extend Gel Polish, a non-toxic, vegan nail base adhesive, and using a blue UV light to cure. To remove, the nails are soaked in acetone and require little to no drilling to complete removal. To make it even better, they last up to 4 weeks minimizing your time in the nail salon.
Are Apres Gel-X Nail Extensions better than Acrylics?
In my opinion, YES!!! As mentioned, Apres Gel-X is placed on the entire nail bed, making them far less likely to break and tear your natural nail. Gel is more flexible as well, allowing your nail to move normally. Acrylics are placed on the tip of the nail increasing risk of breaking or damaging your natural nail. Acrylics are harder and don’t allow the nail to move naturally, meaning they are more likely to break and rip your natural nail. Apres Gel-X can be removed by soaking in acetone, just like gel nail polish. They require little to no drilling, preserving integrity of your natural nail. Acrylics require hard drilling which thins the nail bed drastically leaving you with thin, brittle nails. In addition, Apres Gel-X does not have the potential health risks associated with acrylics. Additionally, gel doesn’t have the strong, chemical smell acrylics have. Apres Gel-X for the win!!!