Self Tanner - Beach

Self-Tanning 101 || Tips to Achieve the Perfect Glow

A few years ago, I was trying to find the best self-tanner for my skin. I had been to the dermatologist and had to have a couple of areas biopsied. Skin cancer runs in my family and after years of never using sun screen and going to the tanning bed once a day, I decided it was time to cool it with the fake-baking and careless sun-bathing. Well, I’m naturally very pale so I tried every self-tanning brand under the sun and was not satisfied with the color. I had so much trouble finding one that would actually give me the deep tan I was looking for. Then, I realized my application process could be a big contributor as to why I was unhappy with my self-tan. I did some research and found the following tips to be the most helpful:

BEFORE TANNING:

  1. shave + exfoliate // use a scrub 24 hours prior to application: shaving and exfoliating immediately before application can leave you with those little “dots” all over your skin as a result of your pores and hair follicles not having enough time to close back up. remove all dead skin, hair, and old self-tanner from your last application 24 hours before re-application. if you haven’t shaved in a few days and you need to tan now, go ahead and apply but wait at least 24 hours after application to shave.
  2. apply self-tanner to squeaky clean skin: your skin needs to be as clean as possible so the tanner adheres to your skin instead of build up of dirt, oil, dead skin cells, etc. this will keep your tan looking even in the days after application.
  3. use moisturizer on dry areas such as elbows, knees, ankles: self-tanner sticks to these areas because they are naturally dry. use self-tanner sparingly on these areas. I like to use a small, fluffy makeup brush to minimize the risk of applying too much product leaving you with excessively dark ankles, knees, and elbows.
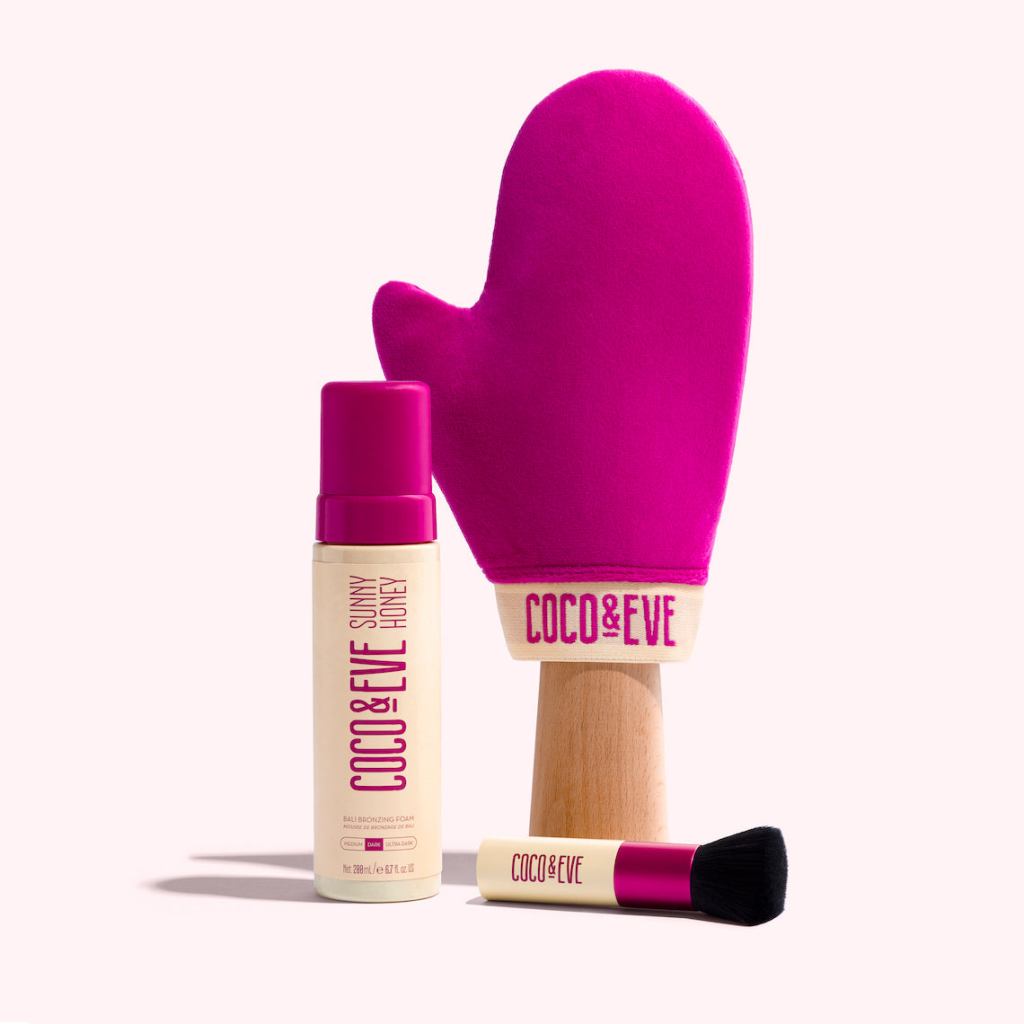
  4. never use bare hands: just don’t do it. your hands will absorb a lot of product, leaving them looking orange. not to mention, the chances of your self-tanner application being streaky are almost guaranteed. use an application mitt each time (and wash the mitt after each use).
  5. take your time: to avoid missing any areas, go slow moving from your feet up to your neck // face. you want to apply by moving your mitt in small circles. this will ensure even application and reduce likelihood of missing a spot. I also invested in a back applicator mitt from coco & eve to avoid missing any areas on my back.
  6. ensure tan is totally dry before putting on clothes: I wait at least 10 minutes after application; then, I use a hair dryer on the cool setting all over my body to make sure the tanner is dry before putting on my clothes. I usually put on an old, giant tee shirt and loose-fitting shorts afterwards to avoid staining any of my favorite clothing.

AFTER TANNING:

  1. rinsing: if you want a really deep tan, wait 8+ hours to rinse. I usually wait as long as I possibly can to get that richer, deeper tan I love.
  2. hydrate your skin: moisturize your skin daily in order to prolong your tan and keep it looking even as it begins to fade.

OTHER TIPS:

  1. un-tinted is a no go: I don’t recommend un-tinted formulas, as you can’t see where you have applied which can result in an uneven application.
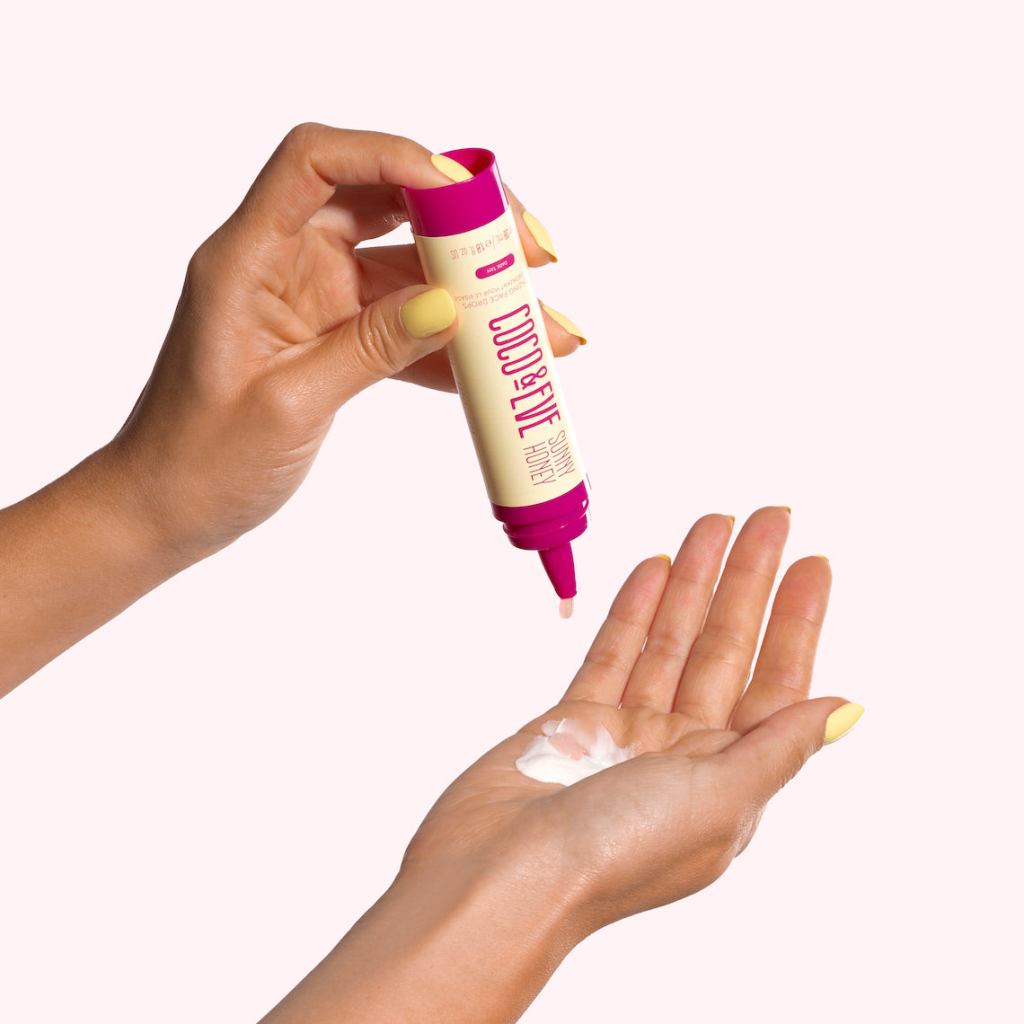
  2. facial tanner: I prefer using facial tanning oil instead of self-tanning mousse. I add 3-4 drops in with my moisturizer. it’s best to re-apply facial tanning oil every 2-3 days.
  3. skin care products to avoid: avoid retinol, AHAs, BHAs, and facial oils when using self-tanner. these products increase the rate of skin-cell turnover resulting in an uneven tan.
  4. skin care products to use: use hyaluronic acid, SPF, and vitamin c serums to keep your skin hydrated. this will prevent an uneven tan as self-tanner begins to fade.

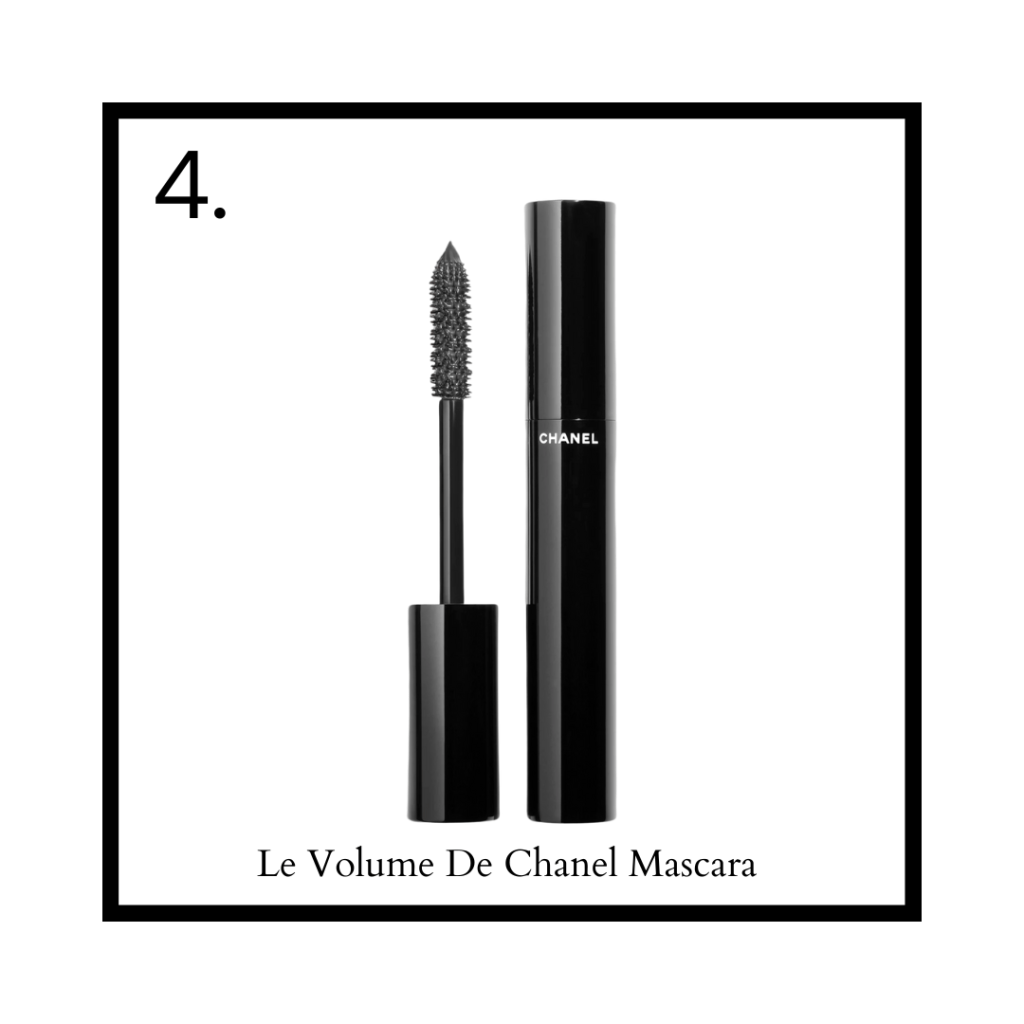
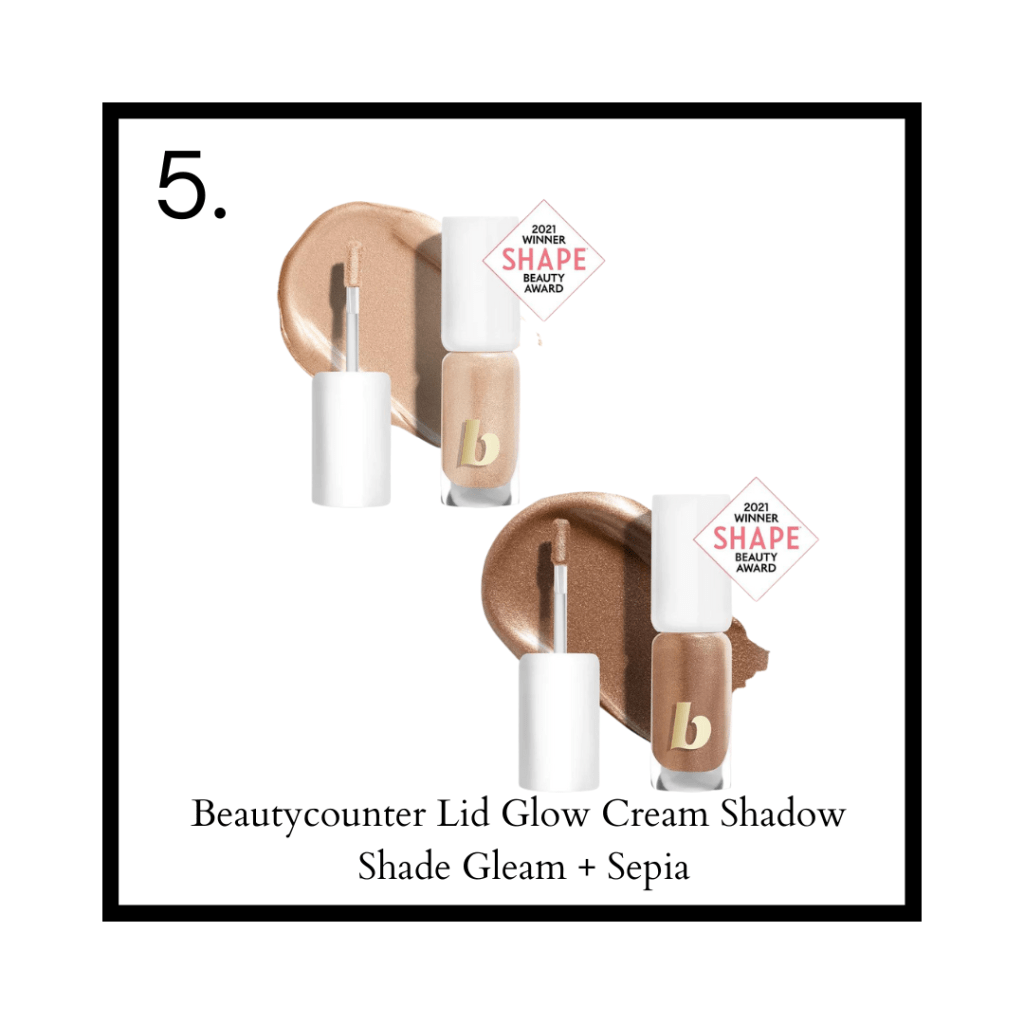
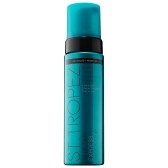
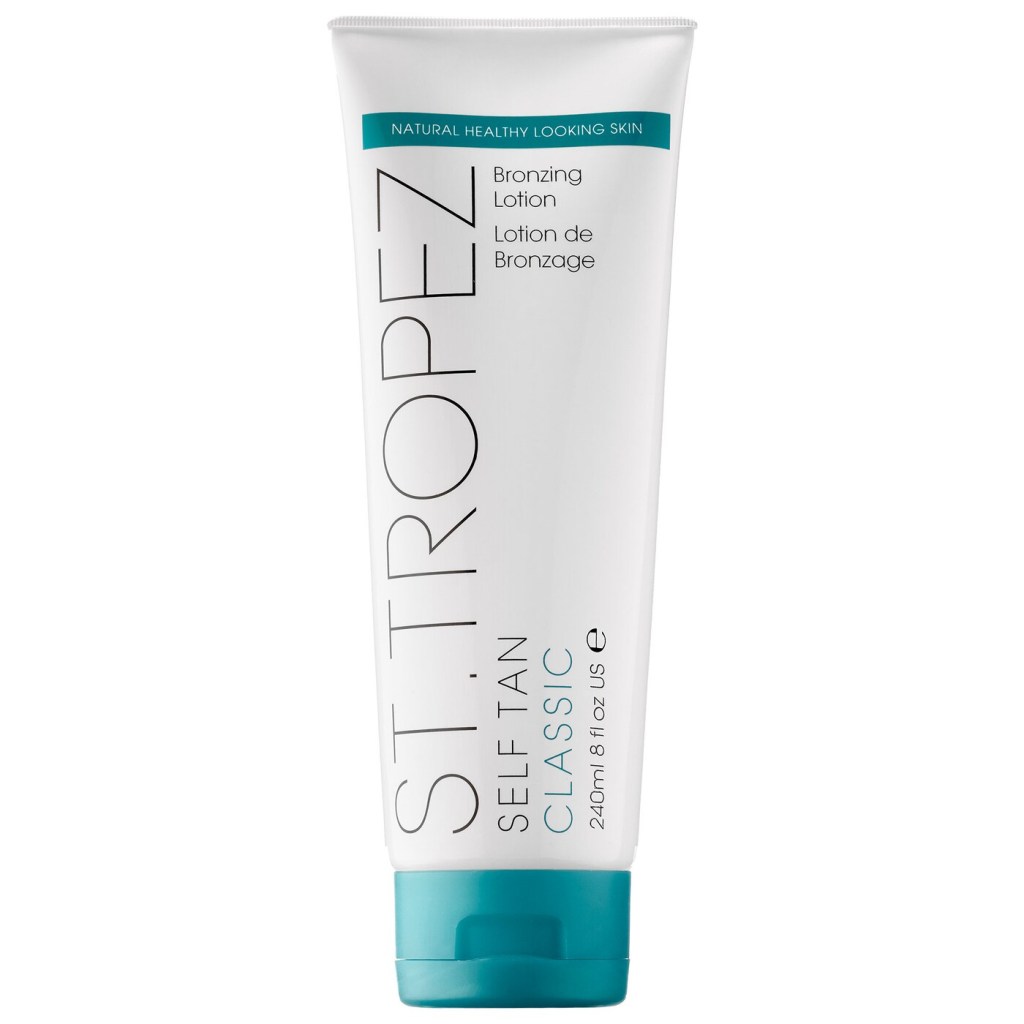
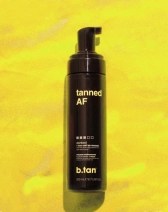
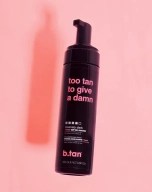
I’ve listed my top picks below with links. My personal favorites are b.tan and Coco & Eve! ☺︎

What is your favorite self-tanner? If you have any special tips or tricks, feel free to leave a comment below!

xo, Meg signature
Must Have Makeup Products

5 Must-Have Makeup Products

Currently obsessed with these 5 products:

Milk Makeup Hydro Grip Primer

“An award-winning invisible makeup primer with a 94% natural gel formula that

smooths skin, grips makeup up to 12 hours, and locks in hydration.”

– Sephora

WHY I’M OBSESSED:

The description on Sephora is 1000% accurate!

I’ve tried literally a million primers but I think I’ve found THE ONE!!!

It’s cooling to the skin and keeps my makeup looking smoother than ever for a look that lasts all day!

Clinique Stay-Matte Foundation
Clinique Stay Matte Foundation

“An oil-free makeup that helps you stay matte all day.” 

– Sephora

WHY I’M OBSESSED:

I’ve used this foundation off and on for years and it’s truly one of the best out there, especially for those with oily skin!!!

It absorbs shine, controls oil, and even resists sweat.

It gives the perfect amount of coverage without looking unnatural.

Additionally, it is non-acnegenic!

Beautycounter Cheeky Clean Cream Blush
Beautycounter Cheeky Clean Cream Blush in Cider

“Versatile, multitasking, and mistake-proof, this silky cream color for cheeks (and lips) gives you confidence to face the day. Go with a sheer flush or build to a bold pop of color, thanks to lush pigments and skin-loving ingredients like squalane that give you a dewy, smooth finish. Even better? The chic compact is refillable—and made from PCR plastic. Go ahead, get cheeky.”

– Beautycounter

WHY I’M OBSESSED:

I never thought I’d love a cream product so much. I’ve always been a liquid foundation + powder everything else girl.

This blush goes on flawlessly without effecting my foundation. You can go bold or blend out the color for a more natural look.

I use the rounded end of a beauty blender to apply, then use the side to blend.

Oh + it comes in 8 beautiful shades!

Le Volume De Chanel Mascara

“This innovative high-precision mascara achieves instant volume and intense colour in a single stroke for longer, thicker-looking lashes.”

– Chanel

WHY I’M OBSESSED:

This is truly the absolute best mascara I’ve ever used!!!

It doesn’t clump, goes on smoothly, gives you the perfect amount of volume + length,

and will not flake off on to your face throughout the day.

Yes, it’s definitely pricy. But out of all the mascaras I’ve tried (and I’ve tried A LOT), this one is my absolute favorite!!!

Beautycounter Lid Glow Cream Shadow
Lid Glow Cream Shadow in Gleam + Sepia

“Light lids up in a blink with this cream shadow that effortlessly delivers glowy, buildable color. The instantly illuminating shades are made to glow how you want to—easily going from a sheer wash of color to a seriously smokey look—in hues that complement a variety of skin tones. Bonus: The weightless, crease-free formula is infused with safer, soothing ingredients designed to care for eyelids.”

– Beautycounter

WHY I’M OBSESSED:

Never thought I would try a cream eye shadow, but here we are!

It took a little trial-and-error period to get used to the application but now that I’m used to it, I’m obsessed!!!

I use either my finger or a mini beauty blender to apply.

It takes just a couple of seconds to put on so it’s great for gals on-the-go!

For all product links, click here!

xo, Meg signature
Beauty Blenders || How To

Beauty Blenders

How to use a beauty blender the Right way + how to clean them!

Beauty blenders, or makeup sponges, are my favorite way to apply foundation. For the longest time, I only used makeup brushes. I thought the concept of a “sponge” to apply makeup was a little absurd – they’re more likely to harbor bacteria, absorb makeup into the sponge, and can cause your makeup look cakey. All very valid concerns. During quarantine, I watched many makeup tutorials and learned the same exact concerns apply to brushes as well. It all comes down to technique

Beauty Blender Aesthetic

So, what’s the proper technique?

  1. Prep your skin. It’s best to use a hydrating serum, moisturizer, SPF, and a makeup primer. If your skin isn’t properly hydrated, the makeup will clump around dry areas and fine lines.
  2. Dampen your blender. It shouldn’t be wet and water shouldn’t come out when the blender is squeezed. When the blender is damp, it won’t absorb your makeup because there is no room for it to absorb anything else.
    • Pro Tip: For fuller coverage, use it dry to build the product.
  3. Apply product. Use your finger to dab foundation on your face. I usually put foundation on the back of my left hand and use my right index finger to dab product around my face. I start with a small amount to avoid using too much product.
  4. Bounce + blend. I take the blender and begin to gently bounce the blender all over my face to blend and smooth, starting from the center of my face and moving outward toward my jawline and hairline. If needed, I build coverage using the same method focusing on blemishes and discolorations.
  5. Fine tune with the pointed end of the blender. Once my foundation is applied, I put concealer on the back of my left hand and will use the pointed end of the blender to apply concealer under my eyes using the same bounce + blend method.

Mistakes to avoid:

  1. Dragging the sponge across your face. All this does is move product around your face leaving a very unnatural look.
  2. Getting the sponge too wet. If the sponge is too wet, product will stick to the sponge and not your face.
  3. Not cleaning it properly. If you don’t clean your blender at least weekly, this will be a recipe for acne disaster. Makeup also goes on best with a clean sponge.
  4. Not replacing your blender after 3-6 months. Over time, your blender will wear down and will need to be replaced just like a toothbrush.

How to clean your beauty blender or makeup sponge:

  1. Wet the sponge thoroughly. It should double in size!
  2. Apply soap or brush//blender cleaner to the blender. I use Dawn dishwashing soap because I have found it deep cleans the sponge better than other cleaners I have tried.
  3. Rub the blender between your hands to get all the product out of the blender.
  4. Rinse + squeeze the blender until it rings out clear water only.
  5. Blot the blender into a clean towel to remove excess water.
  6. Let your blender air dry. If you put it in a closed space, it will grow mildew – yuck!

Check out the links below for more information!


Stay tuned for more ways to use a beauty blender!

xo, Meg signature